In this tutorial you’ll get detailed information how to setup a fully functionable Debian Lenny system using virtualization software Xen. This entry was written due to high frustration caused by unreliable/outdated articles on the Internet and uncompleted tutorials. This here should be an attempt to describe the installation process completely and provide additional information which might help you solve common problems. The domU system we’d like to setup (in our case Debian) provides a neat netboot installer which supports Xen. I don’t know - I don’t really have the time to look it up - if any other Linux distributions have such installer (nor if they support Xen at all) , so this howto might also apply - or not - to any other distribution. The same applies to the dom0 system: On your system shown shell commands might differ (different syntax) as well as described methods (e.g. mount pseudo devices etc.). I used NetBSD 5.0_STABLE (amd64) on my system, so there should be no major differences to other BSD systems. If you use Linux as your host system, then you should seek forward since this paper is aimed to focus on *BSD papers. There are enough (good) tutorials out there you can rely on.
Prerequisites #
At this point you should have a running Xen instance and have booted your dom0 (NetBSD with kernel XEN3_DOM0). You should have sth like this:
|
|
Some technical details:
- System: Lenovo Thinkpad x61 / NetBSD 5.0_STABLE (amd64)
- pkgsrc branch: 2009Q4
- Xen kernel: xenkernel33-3.3.2
- Xen tools: xentools33-3.3.2nb1
- Xen dom0 kernel: NetBSD 5.0_STABLE
Step 1: Network configuration #
Now you’ll have to create a network bridge:
|
|
Make sure you use an Intenet connection based on Ethernet (IEEE 802.3) since the Debian installer provides no WiFi modules (?). There have been several problems when using WiFi due to some data encapsulation issues. So be sure you have an active Internet connection based on Ethernet. Now you should add your Ethernet interface (wm0 on my system) to the network bridge we’ve created:
|
|
This whole configuration stuff will be gone after reboot in case you don’t save it to some file. If you want your system to automaticallly create the bridge, then you’ll have to create /etc/ifconfig.bridge0 and add these lines to it:
|
|
Be sure to replace [your LAN interface] with the interface identifier on your system (in my case it would be wm0).
Create disk container #
After setting up the network stuff, you should now create a container (about 2GB) where Debian will be later on installed.
|
|
Step 3: Get Debian kernel and ramdisk file #
In order to have a fully functionable Debian installation DON’T use these files. You’ll run into several problems which will keep you busy searching the Internet for the solutions. Instead you should use the i386-current Xen netboot installer from this link. You should at least download:
to your local directory.
Step 4: Xen domU configuration #
Now let us configure then Xen domU at least with these options (see xm-debian.cfg):
|
|
Step 5: Start Xen services #
First be sure you have following entries in your /etc/rc.conf:
|
|
Additionally you can add:
|
|
where domain.foo and domain.bar are your Xen configs for these domains,
i.e $LOCALBASE/etc/xen/domain.foo.In my case $LOCALBASE is defined as /usr/pkg.This will bring Xen to automatically start your DomUs. (thanks Marcin M. Jessa for this hint)
Then you should be able to start Xen services:
|
|
Step 6: Install Debian #
Now you should be able to start the Debian installation process.
|
|
You should now launch your Xen domU:
|
|
Since we use no framebuffer you should now switch to your console (by pressing CTRL+ALT + Fx, where X = 1 .. 8), login as root, cd to the previously listed directory and type:
|
|
You should now have an attached console to Debian’s installer.
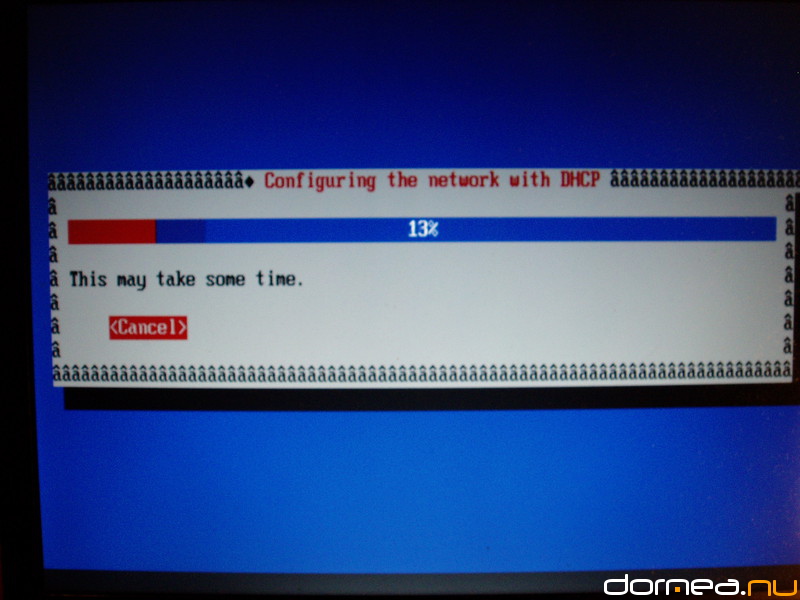
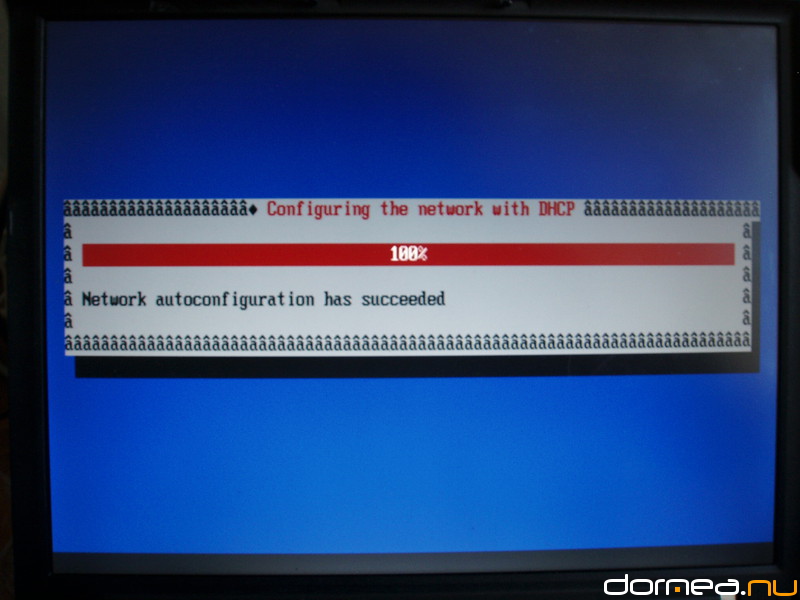
The Debian installer should also configure network automatically by DHCP.
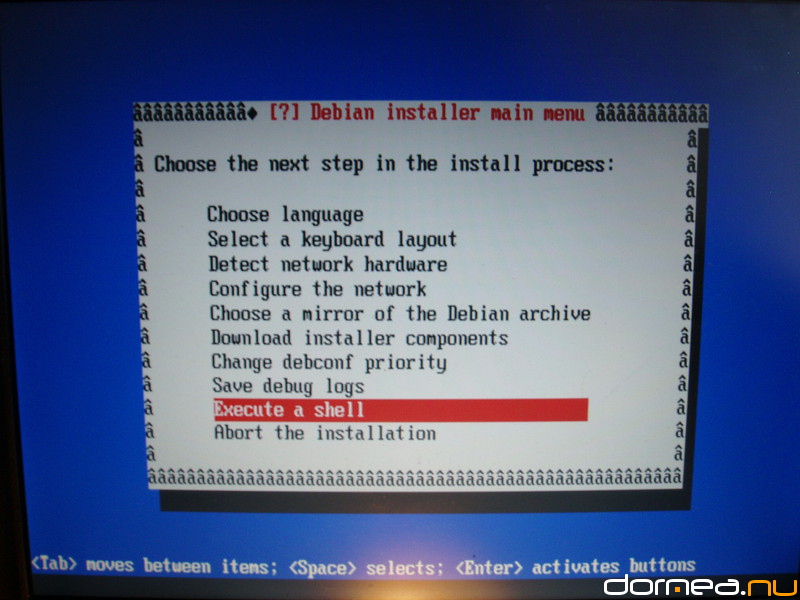
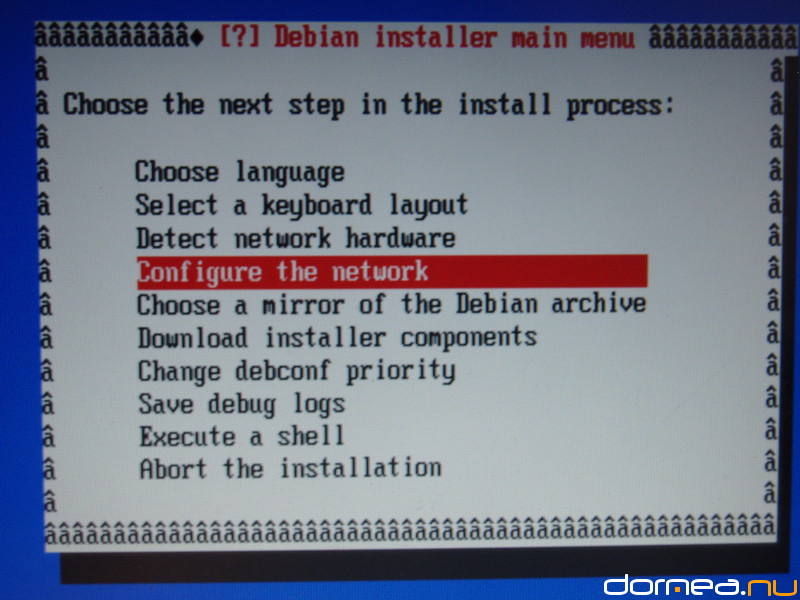
If this fails, then you should go back to the main installer menu and Execute a shell. Afterwards run dhclient eth0 as shown below:
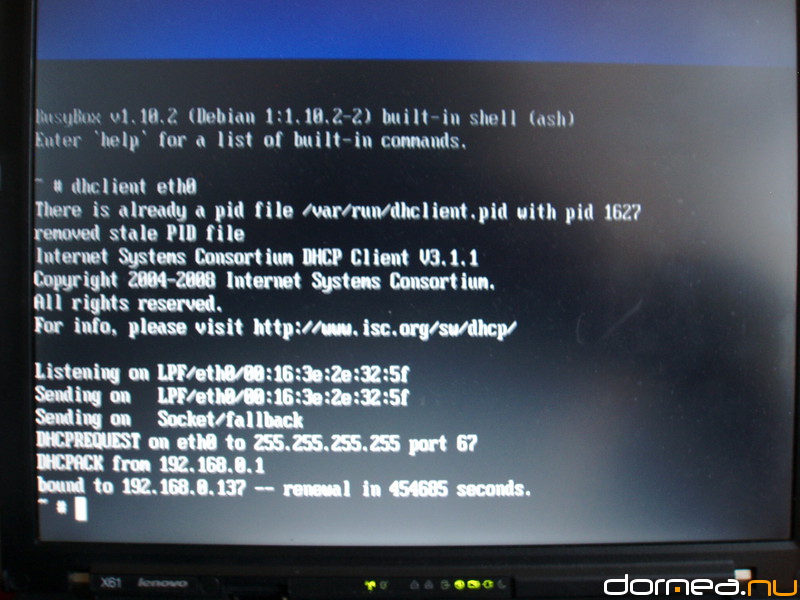
Then proceed with the installation process…
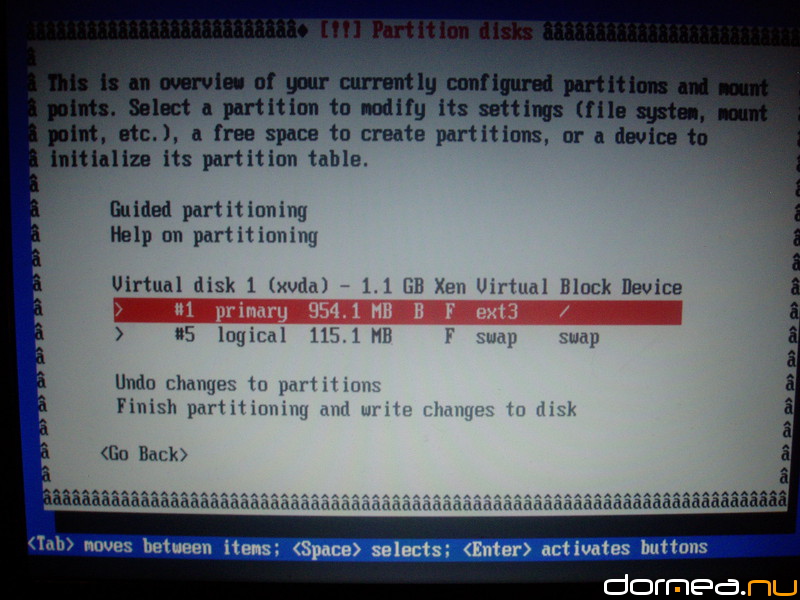
Attention: When configuring the virtual disk, have in mind that you should format your disk as ext2 and not as ext3. Ext3 is currently not supported by NetBSD. When you have reached the partitioning step, select the partition marked as ext3, press enter and change afterwards the file system type to ext2. Then you should select Done setting up the partition and press enter.
You should now go through the installation process without experiencing any troubles. At the end of the installation you won’t have to install grub nor any boot loader, so simply ignore the error messages and select Continue. Even if you should go back to the main installation menu, select Continue without any boot loader and everything will be alright.
Step 7: Start your fresh new Debian system #
First you’ll have to extract vmlinuz and initrd.gz from your local disk container. NetBSD provides vnconfig(8) to configure pseudo disk devices.
|
|
As expected we have a swap partition and a ext2 (!!!) file system. We’ll try now to mount it in order to extract the previously mentioned files:
|
|
Now all you’ll have to do is to copy these files to your local partition and use them in your domU configuration. On my laptop I’ve created /home/xen:
|
|
Debian-Lenny.conf in *conf *contains:
|
|
Now for the final step, launch your Debian domU using:
|
|
Thats it! I hope you enjoyed this HowTo and if you have any questions/unsolved issues, just drop me a mail and I’ll try to help.